Production Models using TFX Serving
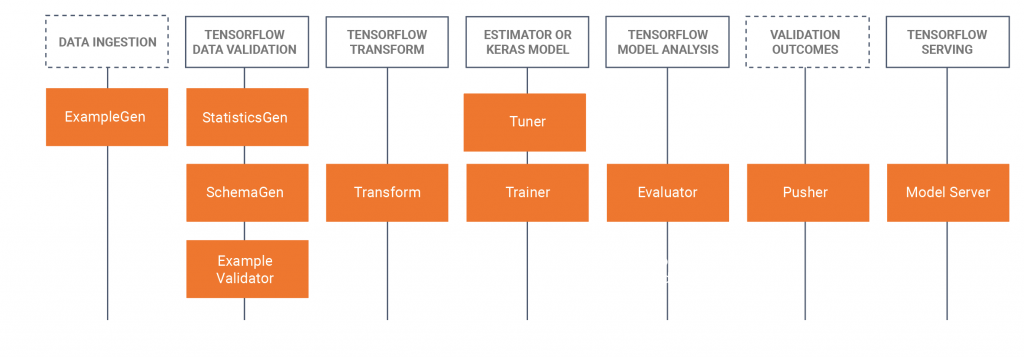
- This tutorial will introduce students to take a developed trained model that was developed in a Jupyter Notebook (using Tensorflow 2.x and Keras) and saving the model in Tensorflow format. The tutorial will start by developing a basic CNN to identify the bread of a dog. We will then save the model as a Tensorflow model. The tutorial will then use the TFX (Tensorflow Extended https://www.tensorflow.org/tfx/serving/docker) approach for MLOps where we will focus in this tutorial on TRX serving component, that is building restful APIs to use/query in production environments. To do this we will build a Docker TFX serving image, and deploy this image:
- Locally (localhost)
- Via Azure Container Instances (ACI), where a public IP address can be queried
- There are prior installs needed, please see the obligatory preparations for students below.
- The dataset is the Stanford dogs dataset, in which we use two classes of dogs, Jack Russel's and Rhodesian Ridgeback's, the complete dataset can be found here, We have also provided the subset used in this tutorial in the dataset section below.
- We have also provided all of the Docker CLI commands at the bottom of this tutorial WIKI page.
Outline/time schedule
Duration (Min) |
Description |
20 |
Problem 1: Building a CNN model using a subset of the Stanford dogs dataset, saving this model as a Tensorflow model |
10 |
Problem 2: Deploying the Tensorflow model to a Rest API locally (using Docker) and querying the model |
20 |
Problem 3: Deploying the Tensorflow model to a Rest API using Azure Container Instances (ACI) (using Docker) and querying the model |
10 |
Recap on the forward pass process |
Docker CLI commands
The following command line interface commands are used in this tutorial to run the models.
Run locally
Step 1: Pull tensorflow
docker pull tensorflow/serving:latest-gpu
Step 2: Run the image
docker run --gpus all -p 8501:8501 --name tfserving_classifier --mount type=bind,source=c:\production\,target=/models/img_classifier -e MODEL_NAME=img_classifier -t tensorflow/serving:latest-gpu
or with no GPU
docker run -p 8501:8501 --name tfserving_classifier --mount type=bind,source=c:\production\,target=/models/img_classifier -e MODEL_NAME=img_classifier -t tensorflow/serving:latest-gpu
Run on Azure using ACI
Step 1: Modify the local image to have model included
docker run -d --name serving_base tensorflow/serving:latest-gpu
docker cp c:\production\ serving_base:/models/img_classifier
docker ps -a# to get id
docker commit --change "ENV MODEL_NAME img_classifier" <id goes here> tensorflow_dogs_gpu
docker kill serving_base
Step 2: Deploy Image to Azure ACI
docker login azure
docker context create aci deleteme
docker context use deleteme
docker run -p 8501:8501 kquille/tensorflow_dogs_gpu:kq
Step3 Access the ACI logs, IP address, and then stop and remove the ACI service =====
docker logs jolly-ride
docker ps
docker stop jolly-ride
docker rm jolly-ride